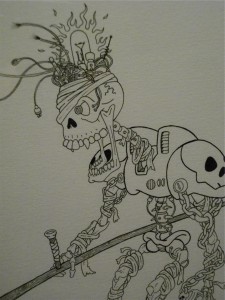
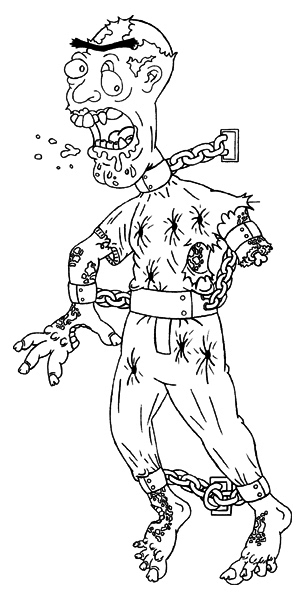
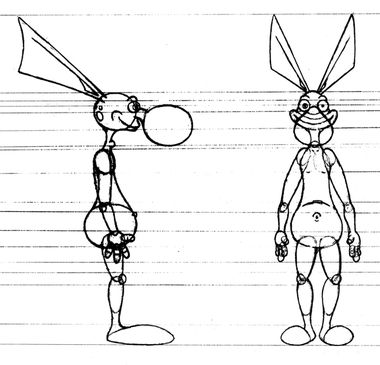
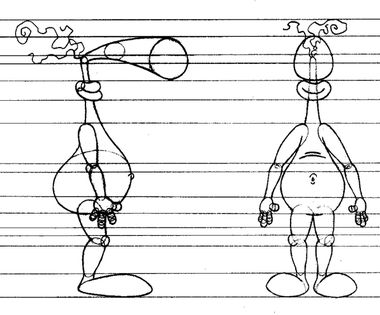
With most of my illustrations I start by blocking in my characters in non-photo blue pencil. I prefer the Staedtler 0.5mm mechanical pencil lead, but feel free to pick up the wooden pencil ‘Copy-Not’ type. I draw in the non-photo blue because let’s face it, when you’re ready to scan if you’ve made a mistake or make additional changes the scanner won’t pick it up. After the rough sketch is blocked in, I go over the illustration again in a thinner 0.3mm black lead and clean up any lines that might affect the image when scanned.
Next I scan the image or character at 600 dpi and save it as bitmap. I take it into Photoshop and run a series of ‘Actions’ I’ve developed to clean up the scan, convert the image, resolution, create selections, and even folder directories of the original scan and the working copies! You gotta love Photoshop for helping save you time by developing basic ‘scripting’ in the form of a palette anyone can use! Still within Photoshop, I complete the coloring and special effects, save the working copy before I run yet another ‘Action’ that will save another ‘flattened’ copy in a different folder to use for the final greeting card layout. I’ve always preferred the motto ‘Better safe than sorry’ in saving multiple copies of my digital work after experiencing several losses.
Using the flattened image, I complete the layout in a nicely reduced file size and my illustrations are ready to be developed at the local print shop! Each finished card measures 4.25 x 5.5 inches and comes with one standard white envelope and is printed on 12 pt card stock paper with a glossy finish. You get two greeting cards on a single 8 1/2 x 11 sheet of cards stock.
This ‘Action’ palette has really saved me time in a number of different ways. Namely the multiple copies in different stages of completion, where you can go back to a ‘pre-flattened’ copy file and change the color of the character and other aspects of the image. Seeing as how I’m typically scanning in black & white drawings, it made sense to write an ‘Action’ to clean up the fragmented pixels and other commands so I didn’t have to continually do the work over and over again for every new scan. Don’t forget to add the ‘Save Copy’ and set up folder directories in your ‘Action’ it’s a great way of ensuring you have a backup of the illustration!
Enjoy
You must be logged in to post a comment.